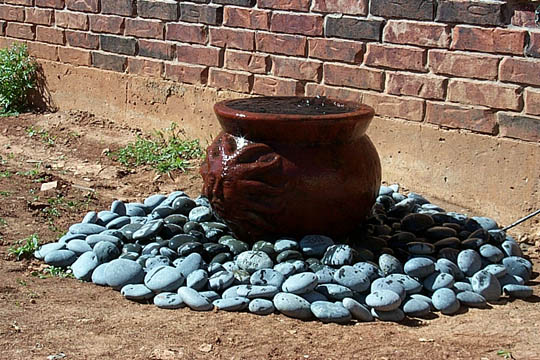
DO-IT-YOURSELF WATER FEATURE

At a local garden shop I had seen many water fountains and water features that I really liked. The only problem was that they cost way too much, anywhere from $250 to $8,000. So, I decided to create one myself. The project took about 1 1/2 hours to complete. The biggest problem was not having the correct tools. Cutting the chicken-wire took forever. Below are the step I took, the items needed, and the cost of the project. I enjoyed it, I hope you do to
Post Production Notes: Here's a couple of things I did wrong.
The diameter of the pond should be much larger than the diameter of the pot. I didn't allow for much over-splash, so I'm losing a lot of water. Plus, with the wind in Oklahoma, it's splashing far beyond the edge of the pond. I would also try to find ones that holds more water.
Either leave the tube inside the pot long or buy a plug. Why? When you turn off the pump, all the water in the pot drains into the pond, until it reaches the leave of the top of the tube.
Create the seal with the pot and the tubing first. It takes a while for the seal to cure.
| Step One: Purchase needed item For this project, here's what I used, in the order in the picture:
Total (excluding rocks) - $106.65 + tax
|
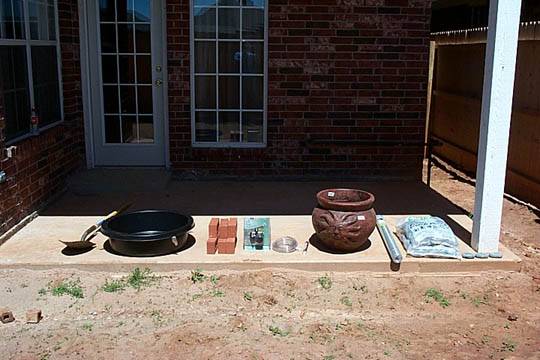 |
| The two biggest expenses are the pot and the pump. I wouldn't go much smaller than 170 gph on the pump. If you did, the water might only trickle over the edge. If you try a smaller pump size, please let me know. I would like to save a few dollars. If you already had a pot, bricks, or chicken wire, that would be great. You really don't have to use a plastic pond. I saw other plastic things at Lowe's that would have worked OK, I just wanted a round one. Or a plastic pond liner would work.
|
|
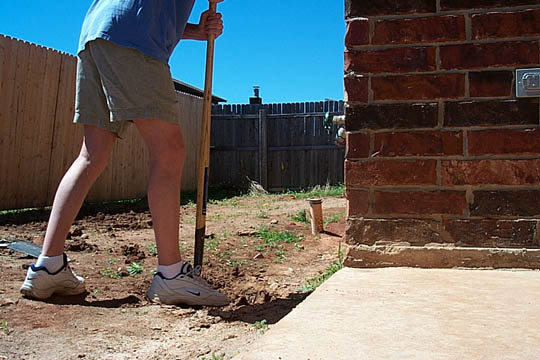 |
Step Two: Dig hole Make hole big enough that plastic pond will fit in it and be fairly close to being flush with the ground. I think a little above the ground would be best. Don't forget that you will need to be near an electrical outlet. Put gravel in the bottom of the hole to assist with drainage. |
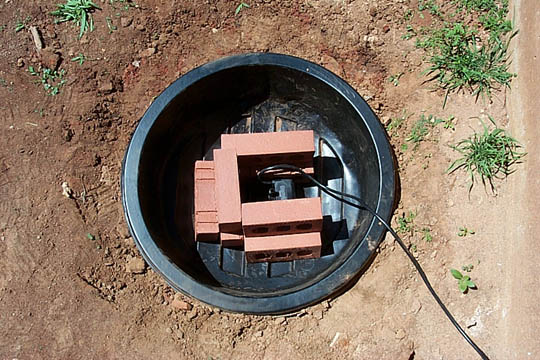
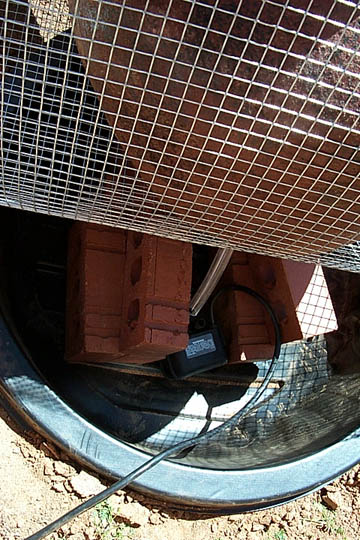
| Step Three: Put the stuff in the ground Put it the plastic pond, the bricks, and the pump. The bricks are there to hold up the pot. They should be flush, or just a little below the top of the liner.
|
 |
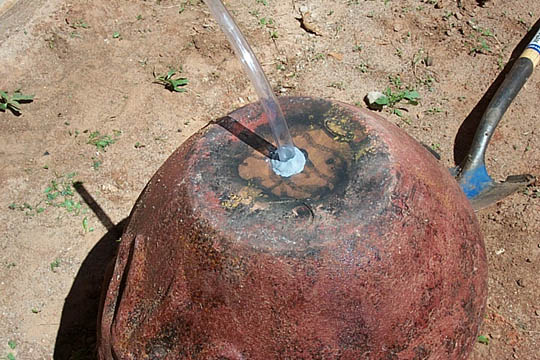 |
Step Four: Insert tubing in pot and make a water-tight seal The Oatey Epoxy Putty worked great. You need to leave the tubing long on both sides. You can cut this to length once you put the pot on the bricks. Don't forget to putty both sides. Oatey says it is water-tight, I guess I'll find out. |
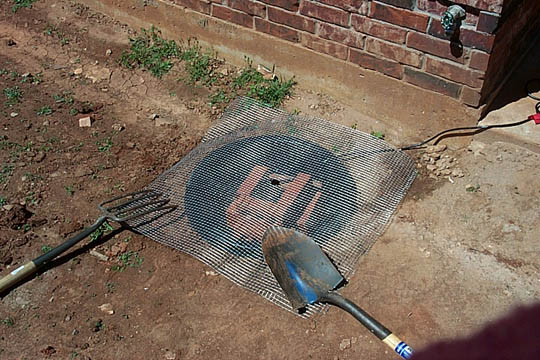
| Step Five: Cut Chicken Wire Be sure that it overlaps all edges of the pond liner by at least three inches, if not more. Having a real wire cutter will save you a lot of time. Once cut, put if over the plastic pond. Make sure there is a hole in the middle for the tubing. The size of the chicken wire openings is relative to the size of the rocks you are going to use. I went ahead and got a small opening, but could have use a larger one. I'm not sure what difference it would make. |
 |
 |
Step Six: Make sure seal in water tight After the seal has had time to cure (read epoxy label), make sure that it's water tight. You're not going to have any water in the pot if there is a leak in the bottom. Mine said about an hour to cure, but some take overnight. |
| Step Seven: Attach hose in pot to pump Avoid having any kinks in the hose. I'm sure this will have some negative effect on the water flow. |
 |
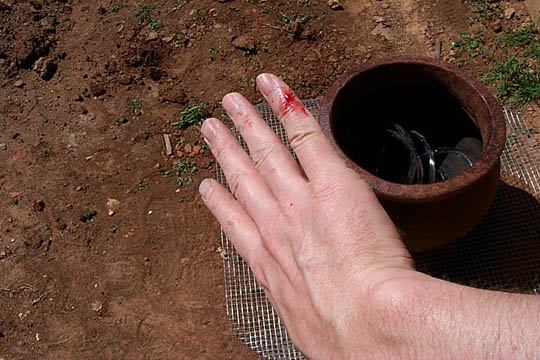 |
Step Eight: Cut yourself accidentally AVOID THIS STEP. A better step here would be:
|
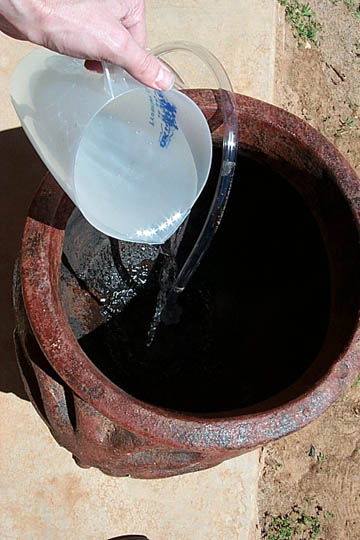
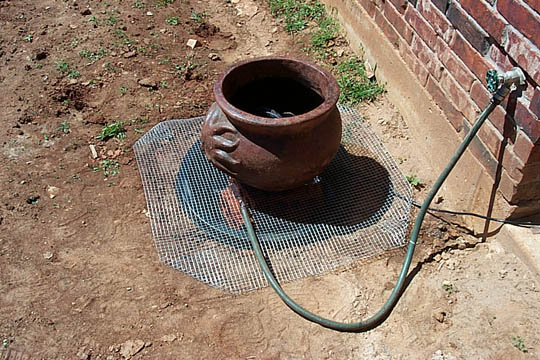
| Step Nine: Fill pond and pot with water After you've filled the pond and pot, you'll need to cut the hose on the inside. I experimented with different sizes, but ended up with only 5 inches from the bottom of the pot.
|
 |
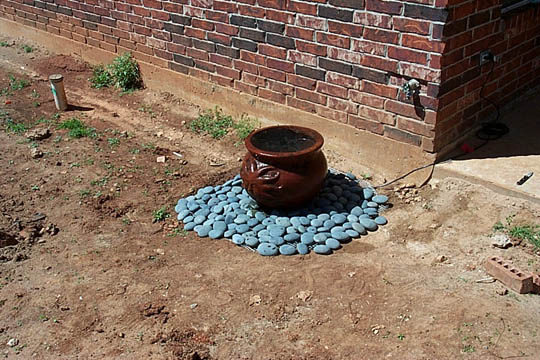 |
Step Ten: Add rocks My project took about 150 pounds of Black Mexican Beach Pebbles, at a cost of 33 cents a pound, which is way too much to spend. I just really liked the rocks and wanted to get them. You can buy excellent rock for 5 cents a pound at Minicks in Oklahoma City (405-789-2068). The cost would have been about $7.50 if I had used Salida River Rock. |
| Step Eleven: Turn on pump and enjoy! Once water is full in BOTH the pond and the pot, you can turn on the pump.
|
 |
Couple of things to think about.